How to Get a Salon-Style Blowout at Home With Wavytalk
Learn how to get a salon-style blowout at home with Wavytalk. Follow simple steps for smooth hair, bouncy volume, and long-lasting results.
By Joseph White
Published Oct 13, 2026
A salon-style blowout can make your hair look smooth, shiny, and full of volume without requiring a salon appointment. The good news is that you can recreate a similar look at home with the right styling tools, a little preparation, and the correct technique.
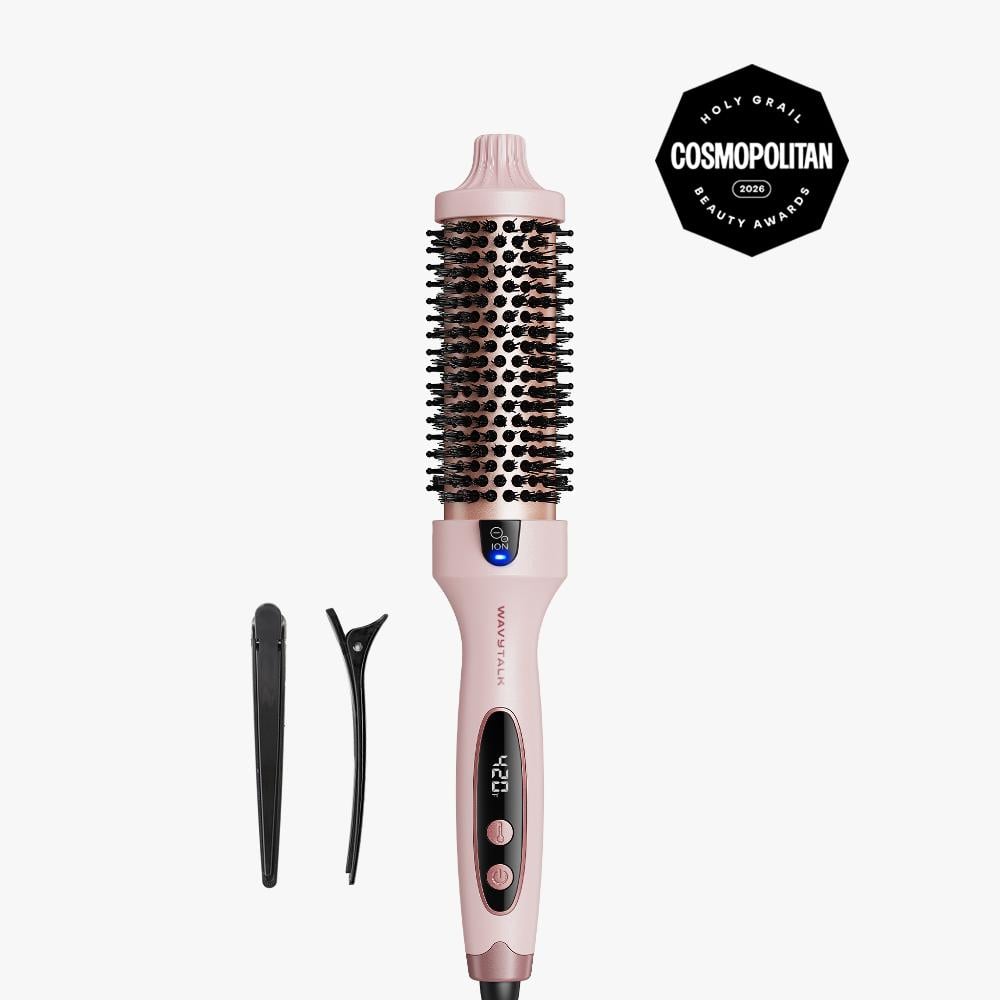
Wavytalk offers hair styling tools such as thermal brushes, hair dryers, and multi-styling devices that can help simplify your styling routine. Whether you want bouncy ends, lifted roots, soft waves, or a smooth finish, choosing the right tool for your hair type is an important first step.
In this guide, we’ll explain how to get a salon-style blowout at home with Wavytalk, from preparing your hair to creating volume and making your finished style last longer.
What Is a Salon-Style Blowout?
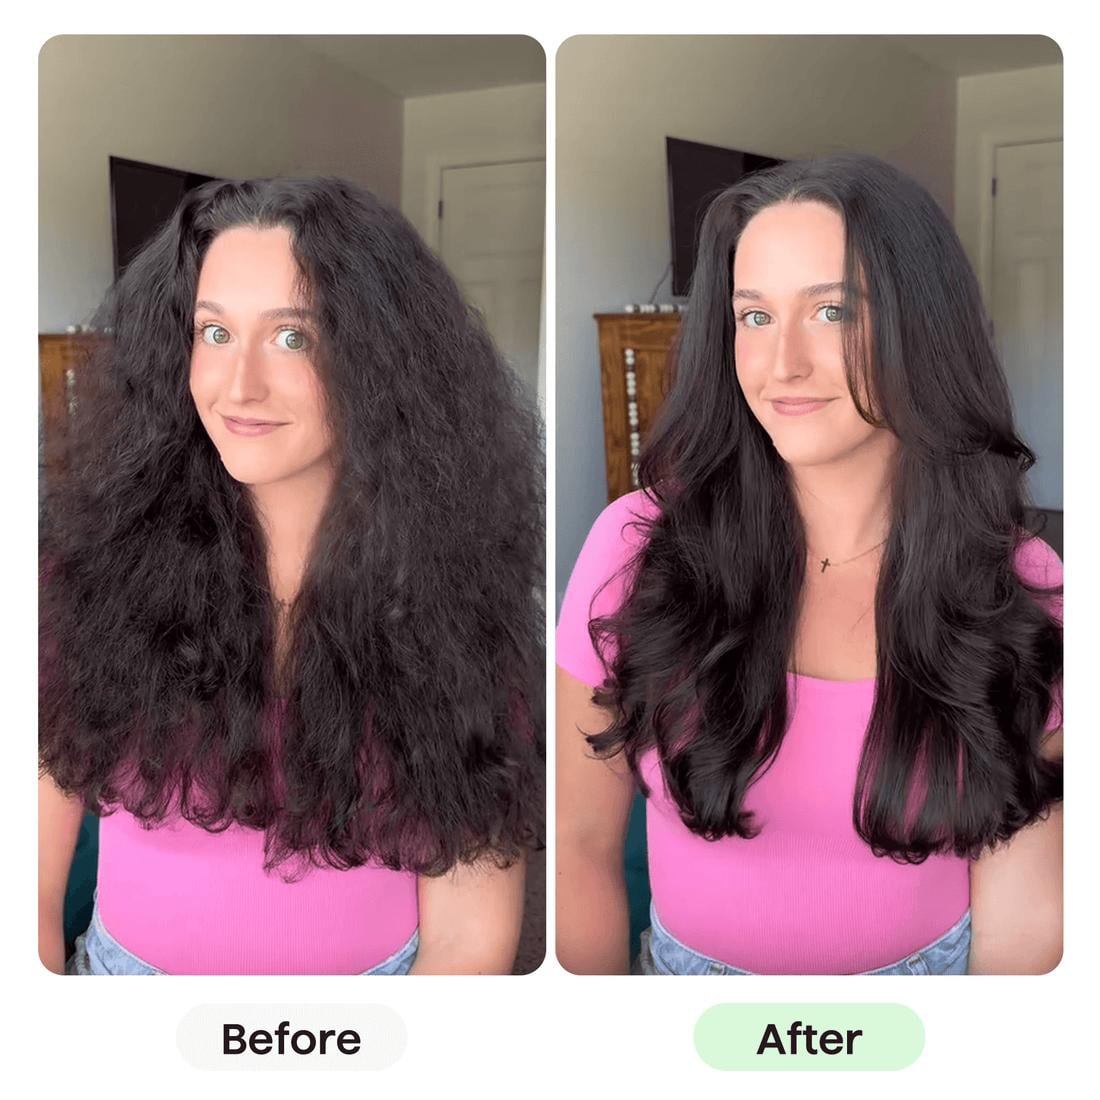
A blowout is a hairstyling technique that uses heat and airflow, often combined with a round brush, to create a smooth finish with movement and volume. Unlike a simple rough dry, a blowout focuses on shaping the roots, smoothing the lengths, and styling the ends.
Depending on your technique, you can create several looks, including:
- Voluminous blowout: Lifted roots and full-bodied hair.
- Smooth blowout: Sleek lengths with a polished finish.
- Bouncy blowout: Rounded ends and soft movement.
- Soft, wavy blowout: Loose bends and a relaxed, glamorous look.
You do not need professional salon equipment to work toward these styles. A suitable Wavytalk styling tool and a consistent routine can help you achieve a similar look at home.
Which Wavytalk Tool Should You Use?
Before styling, choose a tool that suits your hair length, texture, and desired finish.
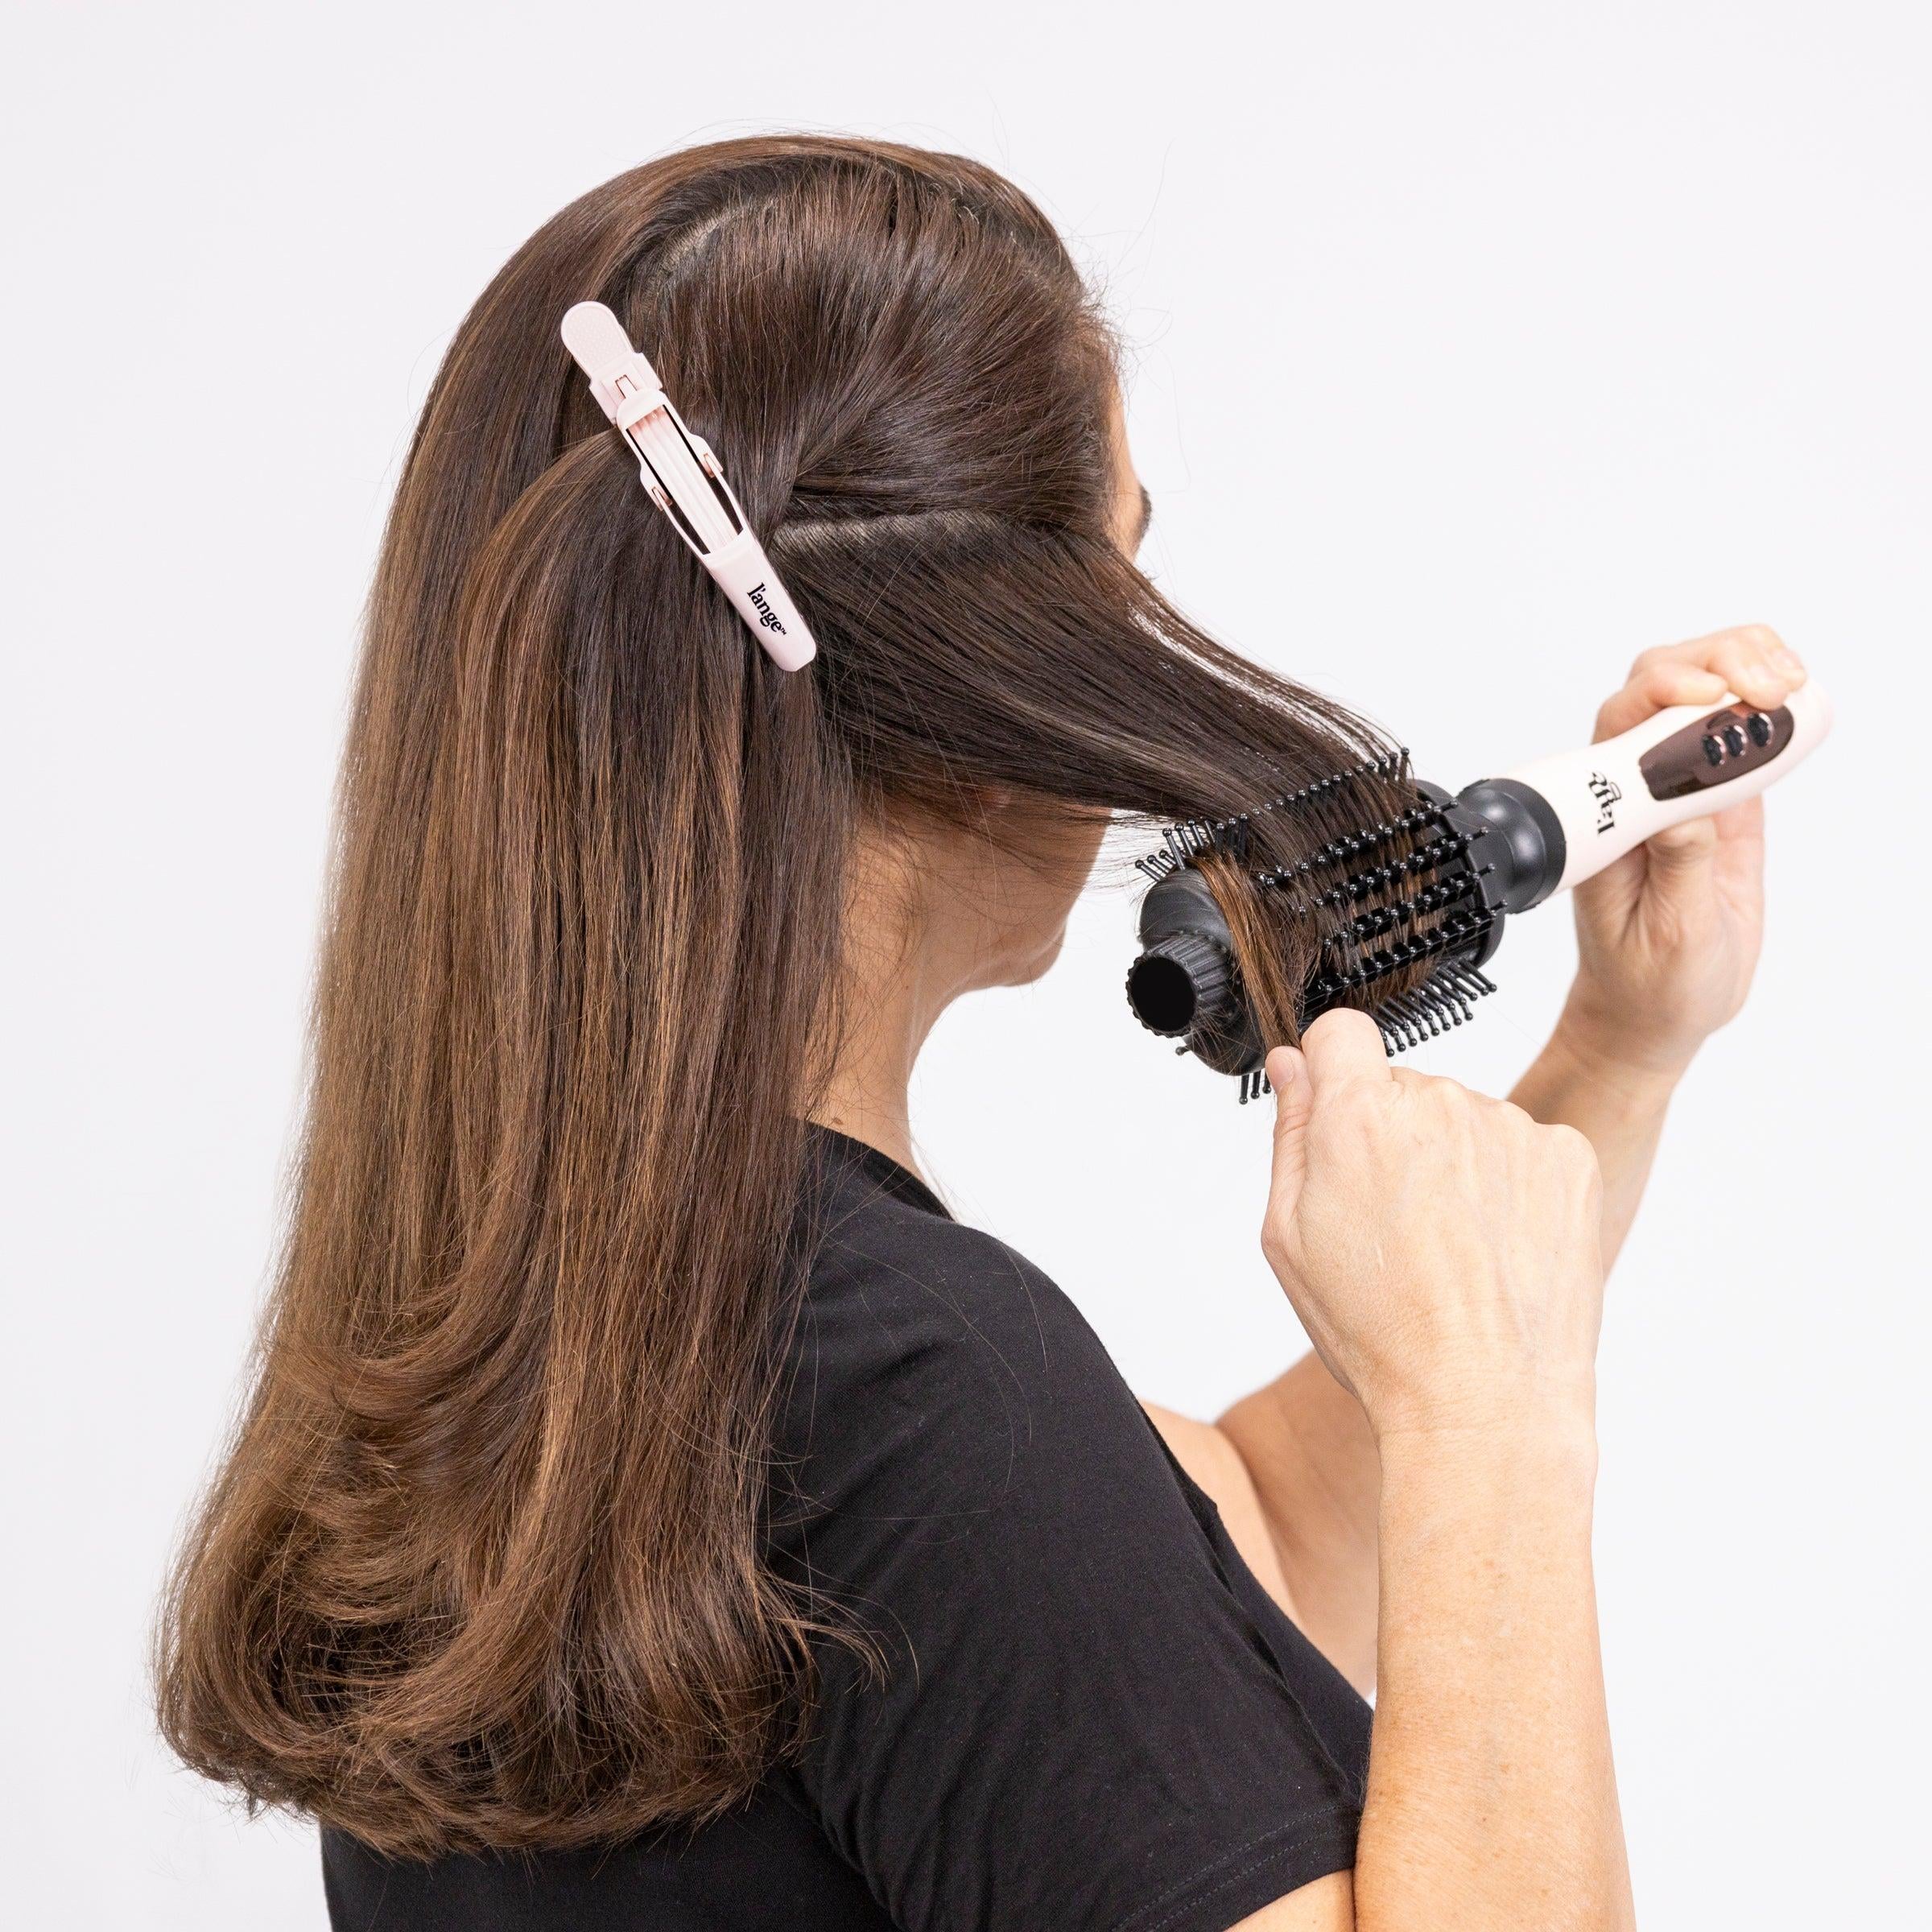
1. Wavytalk Thermal Brush
A thermal brush can be useful when you want to smooth your hair, add shape to the ends, and create a fuller-looking finish. Depending on the model, it may be especially convenient for refreshing a blowout or styling hair that is already dry.
It is worth considering if you prefer a relatively straightforward styling routine without juggling a separate round brush and hair dryer.
2. Wavytalk Hair Dryer
A hair dryer is a useful choice if you are starting with freshly washed, damp hair. Combined with a suitable round brush or other compatible styling attachment, it can help you shape your hair while drying it.
Look for a model and attachments that suit your hair type, and follow the manufacturer's instructions for temperature and airflow settings.
3. Wavytalk Multi-Styling Tools
A multi-styling device may be suitable if you want to create several looks with one tool. Depending on the model and included attachments, it may help with drying, smoothing, adding volume, or creating curls.
Check the specific product description before buying because the functions and attachments vary by model.
What You Need Before Starting
Gather the following essentials before beginning your blowout:
- A Wavytalk tool suited to your styling goal
- Heat-protectant spray or another appropriate heat-protection product
- Shampoo and conditioner suited to your hair
- A wide-tooth comb or detangling brush
- Sectioning clips
- A lightweight styling mousse or volumising product, if desired
- A finishing serum or lightweight hairspray, if needed
Using too many styling products can weigh down fine hair. Start with a small amount and add more only if necessary.
Step-by-Step Guide to Getting a Salon-Style Blowout at Home
Step 1: Wash and Condition Your Hair
Start with clean hair so that oil and product buildup do not interfere with your finished style.
Use shampoo appropriate for your scalp and conditioner suited to your hair's needs. If your hair tends to become flat, apply conditioner mainly to the mid-lengths and ends rather than heavily coating the roots.
Gently squeeze excess water from your hair with a towel. Avoid rubbing vigorously, as this can increase tangling and frizz.
Step 2: Apply Heat Protectant
Heat protection is an important part of any hot-tool routine. Apply a suitable heat-protection product according to its label, distributing it evenly through the areas you plan to style.
If your product is designed for damp hair, apply it before blow-drying. If you are using a thermal brush on dry hair, follow the product's instructions for that application.
Heat protectant helps reduce heat-related damage, but it does not eliminate the risk. Use an appropriate temperature for your hair and avoid repeated passes over the same section.
Step 3: Remove Excess Moisture
If you are using a conventional hair dryer or a multi-styler with a drying attachment, gently dry your hair until it is no longer dripping wet.
Follow the instructions for your particular Wavytalk device. Some tools are designed for damp hair, while others should only be used on fully dry hair.
Important: Do not use a dry-hair thermal brush on wet hair unless the manufacturer explicitly states that the model is designed for that purpose.
Step 4: Divide Your Hair Into Sections
Sectioning helps you work more evenly and prevents you from repeatedly styling the same areas.
Divide your hair into manageable sections, such as:
- Bottom section at the nape
- Middle sections on each side
- Upper section at the crown
- Front sections around the face
Secure the sections you are not working on with clips. If your hair is thick, use smaller sections so that heat and airflow can reach the hair more evenly.
Step 5: Create Volume at the Roots
For a fuller-looking blowout, focus on the roots first.
If using a hair dryer with a brush, lift a small section upward and direct airflow toward the roots while shaping the hair with the brush. Keep the dryer moving and avoid holding concentrated heat in one spot.
If your Wavytalk tool is designed for dry-hair styling, use it according to its instructions to lift and shape the roots gently.
For extra volume at the crown, work in small sections and allow each section to cool before brushing or arranging it. Hair often holds its shape better after cooling.
Step 6: Smooth the Mid-Lengths
Move gradually from the roots toward the ends.
With a suitable brush-based dryer or multi-styler, guide each section through the tool using controlled, steady movements. Avoid pulling too tightly or repeatedly passing over the same area.
If you are using a thermal brush on dry hair, work through manageable sections and follow the recommended temperature and usage instructions for your model.
The goal is to create smoothness and movement, not to make every strand completely flat.
Step 7: Shape the Ends for a Bouncy Finish
The ends help give a blowout its characteristic salon-inspired shape.
To create a soft, rounded finish, guide the ends around a compatible round brush or styling attachment. Turn them slightly inward for a classic polished look, or outward for a more playful finish.
If your tool includes a curling or shaping attachment, use it as directed by the manufacturer. Avoid forcing your hair around an attachment that is not designed for that purpose.
For a more natural result, vary the direction of the front sections slightly rather than making every section look identical.
Step 8: Style the Front Sections
The hair around your face can make a big difference to the overall look.
Take small front sections and shape them away from your face if you want a soft, open finish. Use a suitable attachment and a heat setting appropriate for your hair.
Keep the sections loose rather than creating tight curls. Once they have cooled, separate them gently with your fingers for a softer effect.
Step 9: Let Your Hair Cool
Allow your hair to cool before making the final adjustments.
Cooling helps the hair settle into the shape created during styling. Avoid immediately brushing through every section, as doing so can reduce volume and loosen the shape.
Once your hair has cooled, use your fingers or a suitable brush to blend the sections together.
Step 10: Finish With Lightweight Products
Finish your blowout with a small amount of lightweight serum on the ends if you want extra shine or a smoother appearance. Avoid applying heavy products at the roots, especially if your hair is fine.
If you want additional hold, use a light mist of hairspray rather than applying a large amount at once.
The final result should look soft and movable rather than stiff or overly coated.
Tips for a Longer-Lasting Blowout
A little preparation can help your style maintain its shape.
- Start with suitable products: Heavy creams and oils can make fine hair lose volume.
- Work in manageable sections: Smaller sections can be easier to shape consistently.
- Allow your hair to cool: Give each section time to settle before arranging it.
- Avoid excessive touching: Repeatedly running your hands through your hair can transfer oil and reduce volume.
- Protect your style overnight: Consider a loose, comfortable hairstyle and a smooth pillowcase to reduce friction.
- Refresh selectively: If your roots flatten, use a suitable low-heat or no-heat refreshing method instead of restyling your entire head.
Results will vary depending on your hair's texture, length, humidity, products, and the tool you use.
Common Blowout Mistakes to Avoid
Using Too Much Heat
Higher temperatures are not always better. Excessive heat can leave hair dry, brittle, or more prone to breakage. Start with a lower suitable setting and increase it only if necessary.
Styling Hair With the Wrong Moisture Level
Different tools are designed for different stages of the styling process. Using a dry-hair thermal brush on wet hair, for example, can be unsafe if the manufacturer has not designed it for wet use.
Taking Sections That Are Too Large
Large sections may be harder to style evenly. Work with manageable sections and avoid repeatedly applying heat to compensate for an uneven result.
Applying Too Much Product
Too much mousse, serum, or hairspray can weigh hair down or leave it looking greasy. Start small and build gradually.
Expecting Every Hair Type to Respond the Same Way
Fine, thick, curly, coily, and naturally straight hair can respond differently to heat and styling techniques. Adjust your section size, tool, temperature, and finishing routine to your own hair rather than following a single method rigidly.
Is Wavytalk Worth Considering for Home Blowouts?
Wavytalk may be worth exploring if you want a hair styling tool for regular at-home use without automatically investing in a premium-priced multi-styler.
The right choice depends on what you need. A thermal brush may suit someone who mainly wants to smooth and shape dry hair, while a hair dryer or multi-styler may be more useful for someone who wants to create a blowout from damp hair.
Before purchasing, compare the model's attachments, temperature settings, intended hair condition, ease of handling, cleaning requirements, and warranty terms. Check the official product listing for the features of the specific model you are considering.
Final Thoughts
Getting a salon-style blowout at home with Wavytalk starts with choosing the right tool and preparing your hair properly. By applying heat protectant, sectioning your hair, shaping the roots, smoothing the lengths, and allowing each section to cool, you can work toward a polished finish with natural-looking volume and movement.
You do not need to rush or use the highest heat setting to achieve a good result. Focus on technique, use your styling tool as directed, and adjust the routine to your hair type.
With practice, your at-home blowout routine can become easier, quicker, and more consistent.
Write a comment
Comments
No Comments Yet